Rockstor’s “Built on openSUSE” installer
Thanks
Rockstor’s developers would like to thank the entire OSS community for making any of this possible. Specifically with our recent move / rebase on openSUSE Leap, our thanks go to the openSUSE/SuSE organisations and the larger community for the extreme generosity we all benefit from in a myriad of seen and unseen ways.
Please note: Rockstor is in no way affiliated with openSUSE / SuSE and does not wish, under any circumstances, to misrepresent these organisations. Any errors you encounter are most likely our fault and we try, on a current volunteer basis, to support our users via our friendly forum.
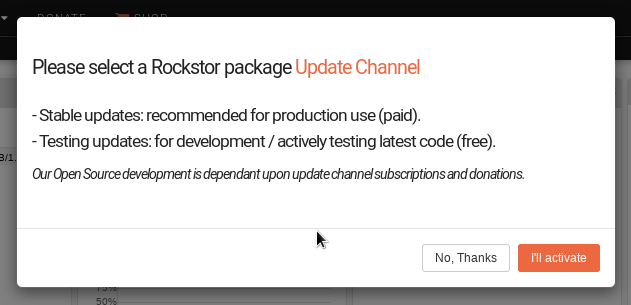
It is hoped that Rockstor’s ongoing small contribution back to the larger community is of value, and if this is so for you please consider either subscribing to our Stable Channel updates or taking part in our developer orientated Testing Channel. Details of these Rockstor package update services are available in our subsection on Software update. Rockstor’s ongoing development is wholly dependent on community support via either of these channels and by positively participating in our forum, linked above. It is hoped that in time we can contribute back more significantly, and possibly financially, as our own community and Stable Channel subscriptions grow. Also note that irrespective of Rockstor update channel selection or otherwise, upstream updates are available by normal command line means and via our Web-UI. See Dashboard and System updates later in this guide for the details.
Our “Built on openSUSE” Kiwi-ng created installer
The existence of this installer, and those of many Linux distributions, is down in a major part to the Kiwi installer creation tool. I would specifically like to thank Marcus Schafer and David Cassany Viladomat of openSUSE/SuSE for their timely and rapid oem, partition, swap, and btrfs related fixes that were required for our initial version of this installer. Please contribute to this important multi-distribution upstream project if you have the means and/or talent KIWI - Next Generation.
Initial Selection Screen
Select the “Install Rockstor- …” option. The default is “Boot from Hard Disk”.
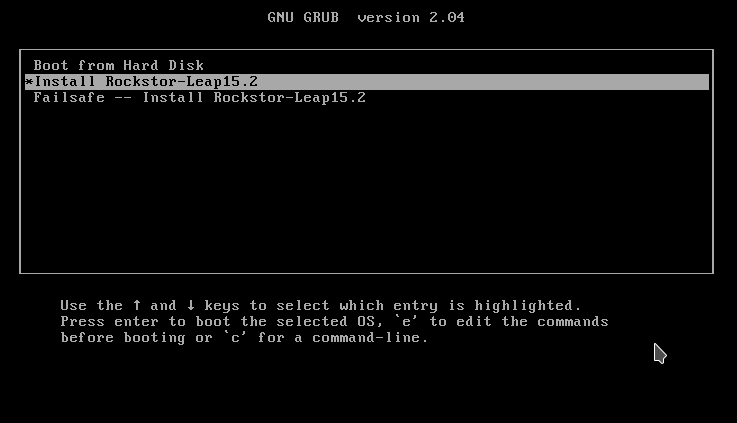
Use cursor keys to highlight, then the “Enter” key to select. Only use Failsafe if the ‘Install …’ option fails, i.e. the screen goes blank and does not return.
Select Installation Disk
This will usually be your smallest disk: dedicated to system only use. If unsure do not proceed and select <Cancel> via Tab key and then Enter.
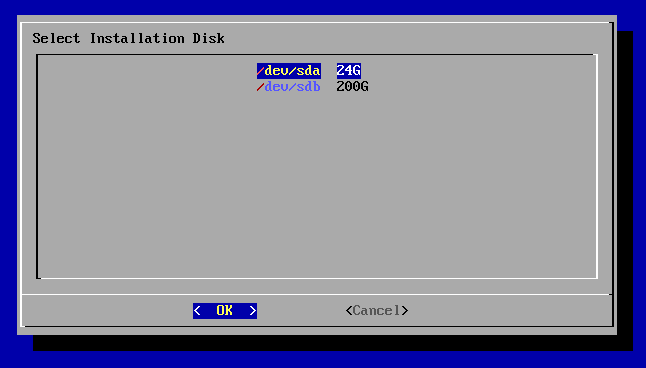
Use cursor keys to highlight, then the “Enter” key to select. Only devices less than 5000 GB (5 TB) are shown. Larger disks are assumed to be data disks.
Destroying ALL data on …, continue ?
Do not proceed if at all unsure. This will wipe the entire contents of the indicated drive.

There will be a short period of scrolling text after this screen.
Loading Rockstor …
This step may take a while, please be patient.

After 100% there will be more scrolling text that may pause for a few minutes depending on computer and selected drive speed.
Select Locale
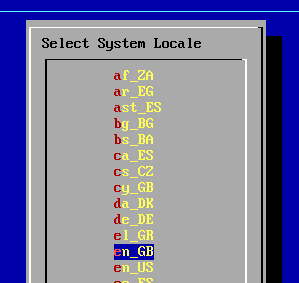
Use cursor keys to highlight, then the “Enter” key to select.
Select Keyboard Layout
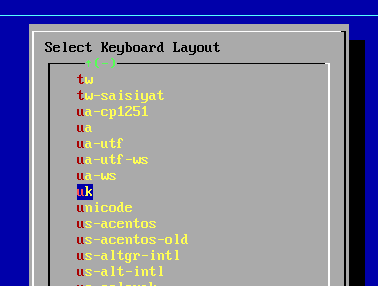
Use cursor keys to highlight, then the “Enter” key to select.
Rockstor “Built on openSUSE” installer License Agreement
The Rockstor installer is “Built on openSUSE” and so the consequent installs are considered modified copies of the indicated openSUSE variant.
The included rockstor package is Licensed: FSF Free/Libre & OSI approved
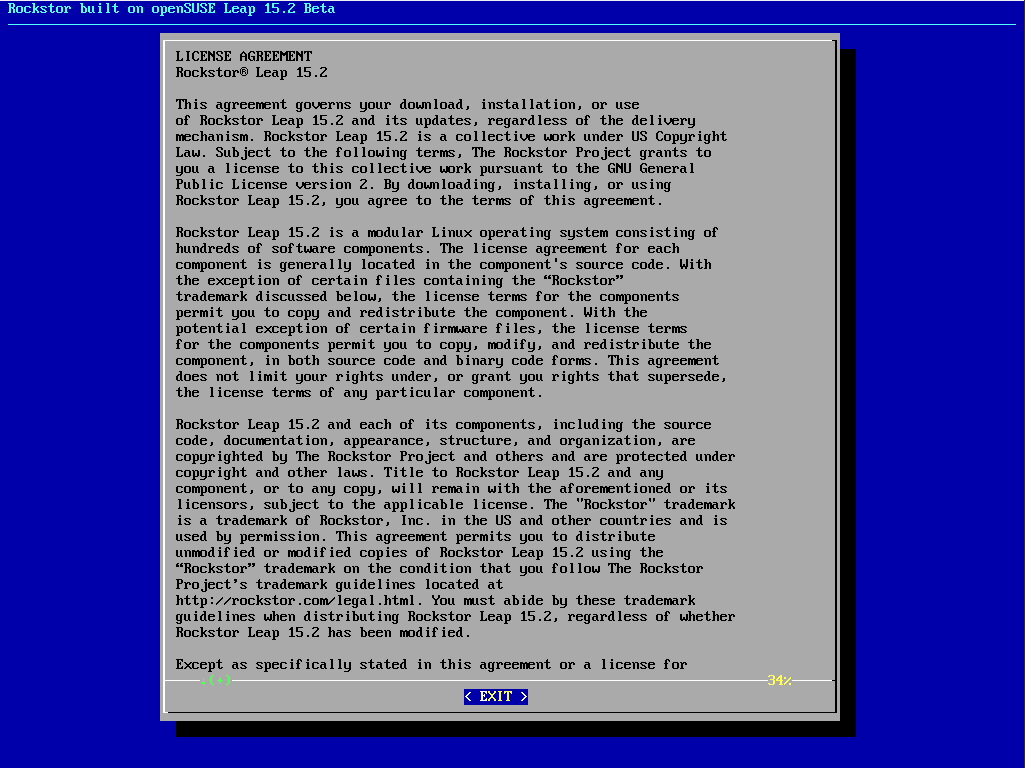
Use cursor keys or Page-up / Page-down (space bar) to view the entire agreement. There are about 3 pages: Enter key to ‘Exit’ & ‘Agree’, or cursor keys to select ‘No’ in pop up.
Select Time Zone
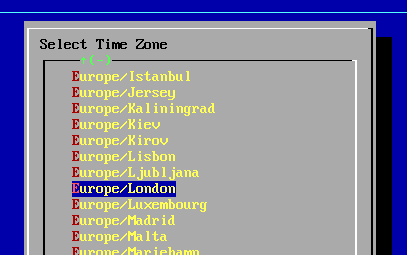
Use cursor keys to highlight, then the “Enter” key to select.
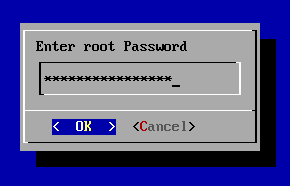
Enter Desired root User Password
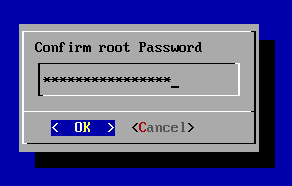
Confirm root User Password
Wait for the “Rockstor bootstrapping tasks”
The Rockstor bootstrapping task may take around 3-4 minutes to appear, depending on computer, drive, and internet speed. This same delay occurs during every rockstor package update, as rockstor-build downloads and builds from PyPi.
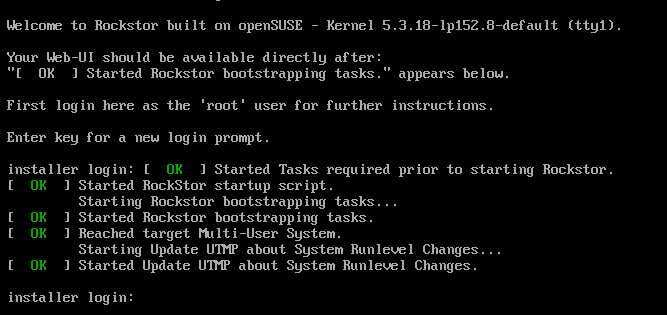
Press the Enter key to show the login prompt again.
Login as the ‘root’ user
This one-off login is required to find the Web-UI’s address for use in your browser.
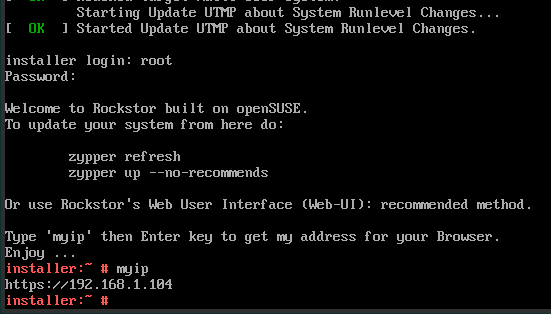
Enter your systems’ https://... address into your browser,
Chrome/Firefox/.., for the Web-UI.
Visit Rockstor’s Web-UI
Rockstor defaults to a self signed https certificate.
Although more secure than ‘http’ (no ‘s’) your browser will still present a warning:
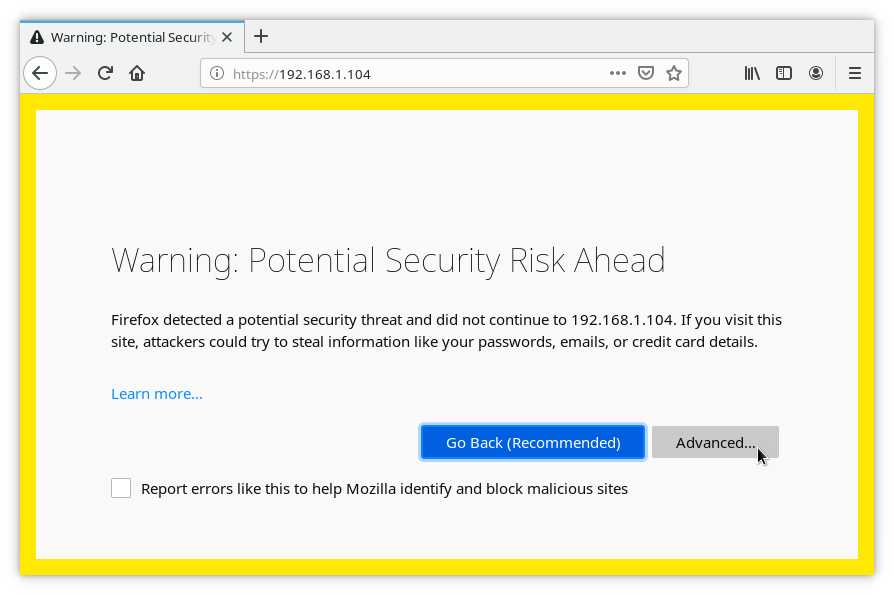
As your Rockstor is on your Local Area Network (LAN) you can add an exception for this address. Click Advanced:
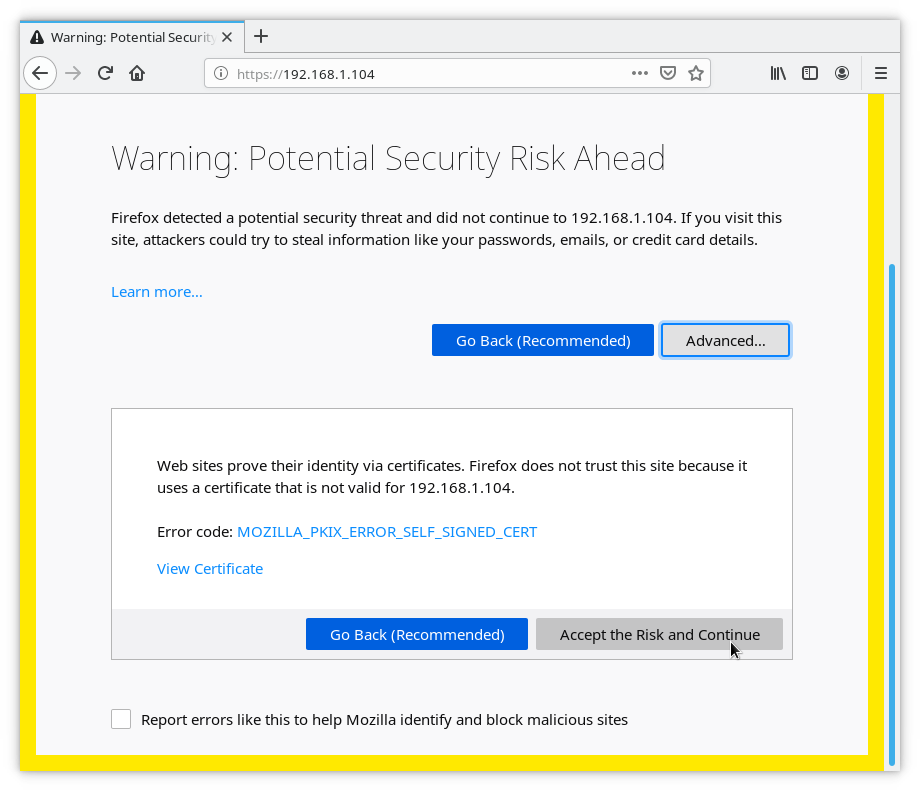
Then “Accept the Risk and Continue”. Do not do this for any site on the internet. You can use a ‘real’ domain certificate with Rockstor but this is an advanced topic beyond the scope of this installer guide.
Rockstor Setup and EULA
The following shows example entries for this initial Web-UI setup screen, they are blank by default.
Note
An unprivileged linux user will also be created by this step (UID=1000 GID=100).
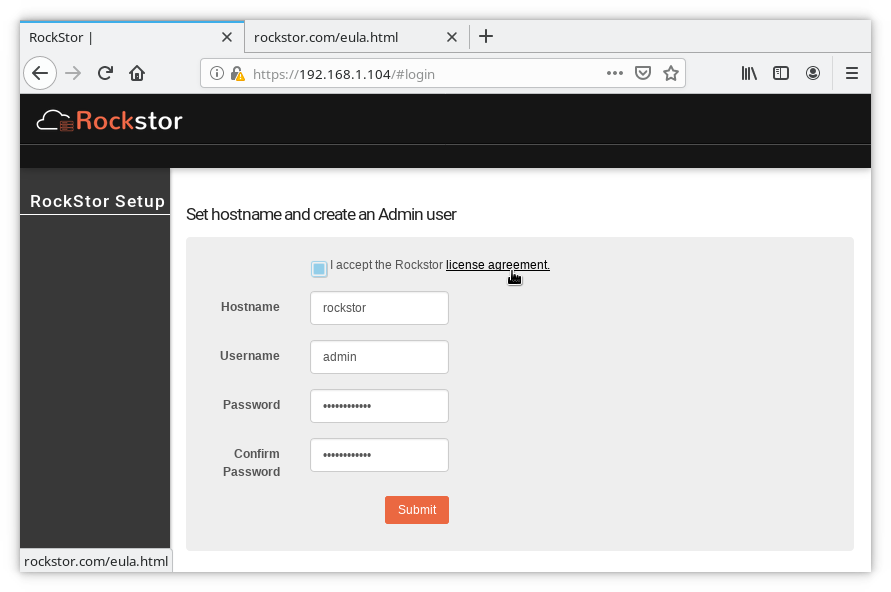
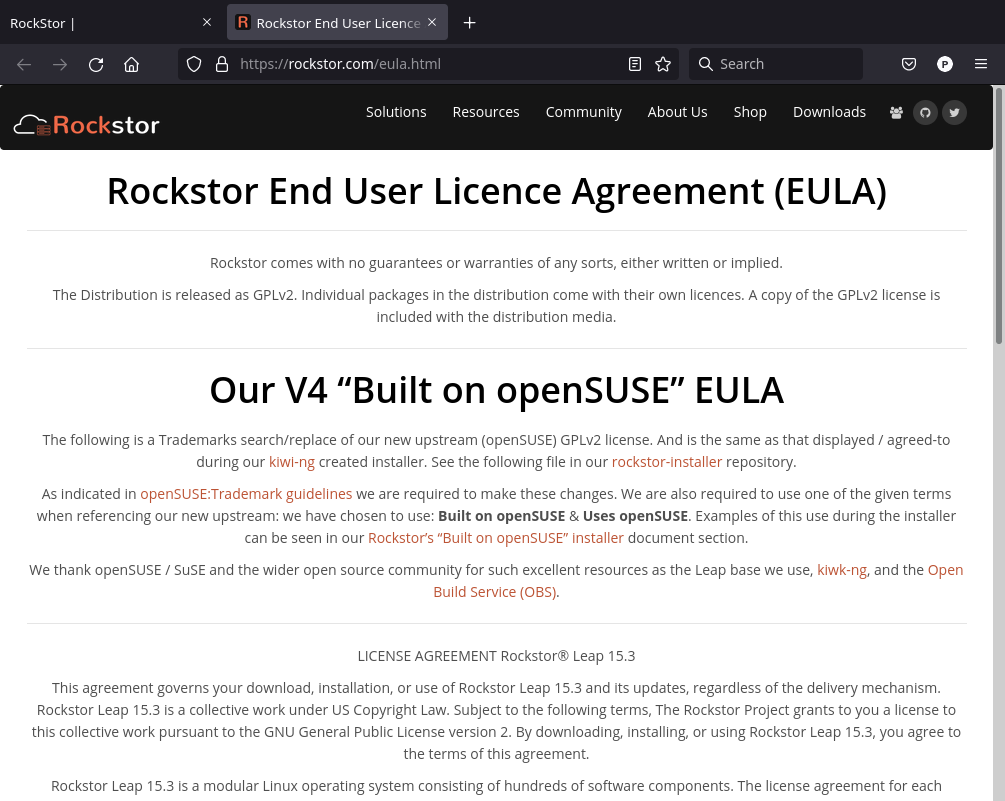
Note the required “license agreement”. This link opens an additional tab shown below:
Dashboard and System updates
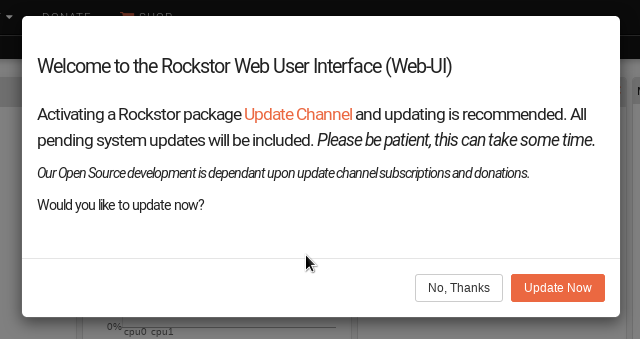
As the entirety of this installer stands on the shoulders of numerous OSS giants, it is possible to update all upstream, read openSUSE/SuSE, provided/curated packages via the flashing icon to the left of the “Uses openSUSE …” text in the top right of the Web-UI:

Your Rockstor installation is now up and running and ready to be configured.
Enjoy your Rockstor DIY NAS ‘Built on openSUSE’
All upstream (openSUSE) updates, at time of installer creation, are pre-applied and their respective repositories enabled by default. See our FAQ entry: What Repositories does Rockstor 4 use?
NOTE: No Rockstor package update repository is configured until an Update Channel is selected.
