Plex Server Rock-on
Please be aware of the common prerequisites for all Rockstor Rock-ons (Docker Plugins); specifically the Initial Rock-ons Setup and The Rock-ons root requirement.
Our Plex Media Server Rock-on forum area.
What is Plex
Plex is a centralized domestic media distribution system that acts both as a DLNA server and as its own more flexible type of media server and client system. Plex client apps are available on nearly every platform. But in order to manage your media with the Plex system it is first necessary to have a Plex Media Server. This Rock-on is exactly that; and aims to make the install and media provisioning of a Plex server as simple as possible.
Plex Documentation
Plex’s own documentation is extensive and well presented and a good kicking off point might well be their Getting Started guide that has a thorough Step by Step introductions to the Plex system. Also note that the Plex Media Server requires your media to be organized in a certain way.
Installing Plex Rock-on
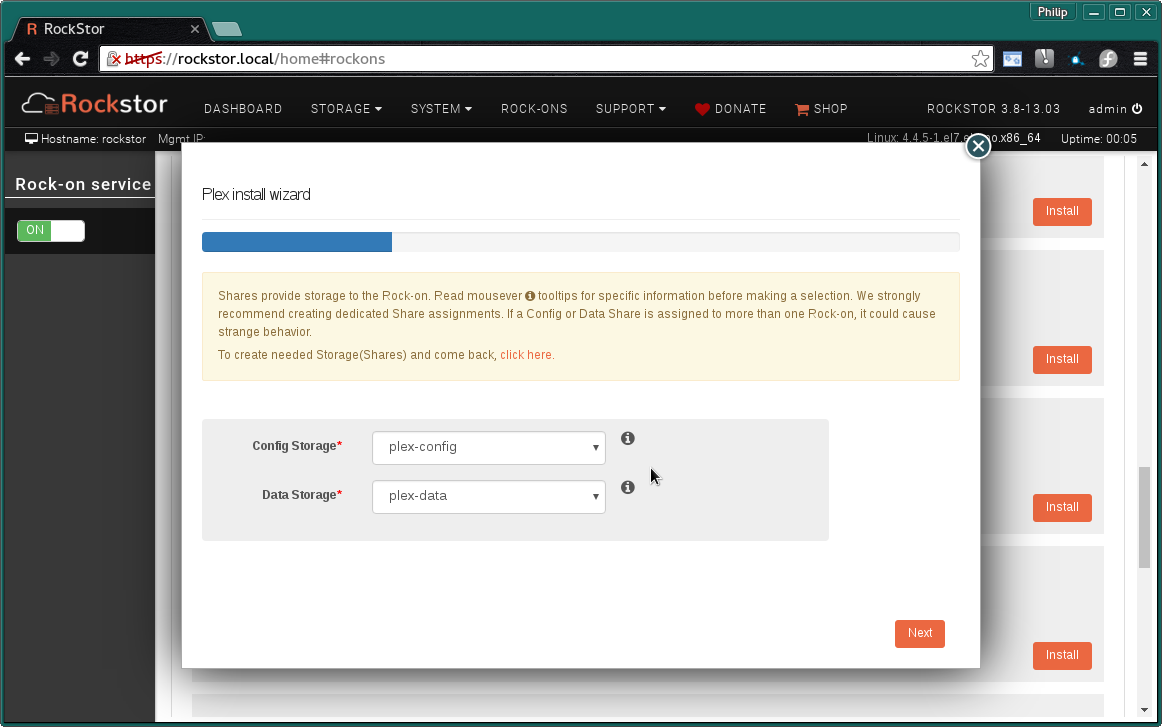
First please consider the pre-requisites for any Rockstor Rock-on; these are linked to at the top of this document. Note also that the Plex Rock-on will require a Share for your media and optionally (but recommended) another two more Shares, one to store its configuration files and one used internally as a temporary working during transcoding. This makes a total of 4 shares, one for the Rock-on system itself ie The Rock-ons root that may well already have been made and an additional 1 to 3 shares depending on whether you wish to split your Plex config, data, and transcoding working area. It is highly recommended that all 3 Plex Rock-on shares be created as their use and size varies greatly and will help to simplify upgrades and maintenance in the future; as well as helping to open up further possibilities for performance tuning, ie ssd for transcoding Share and varying scrub or de-fragmentation task schedules.
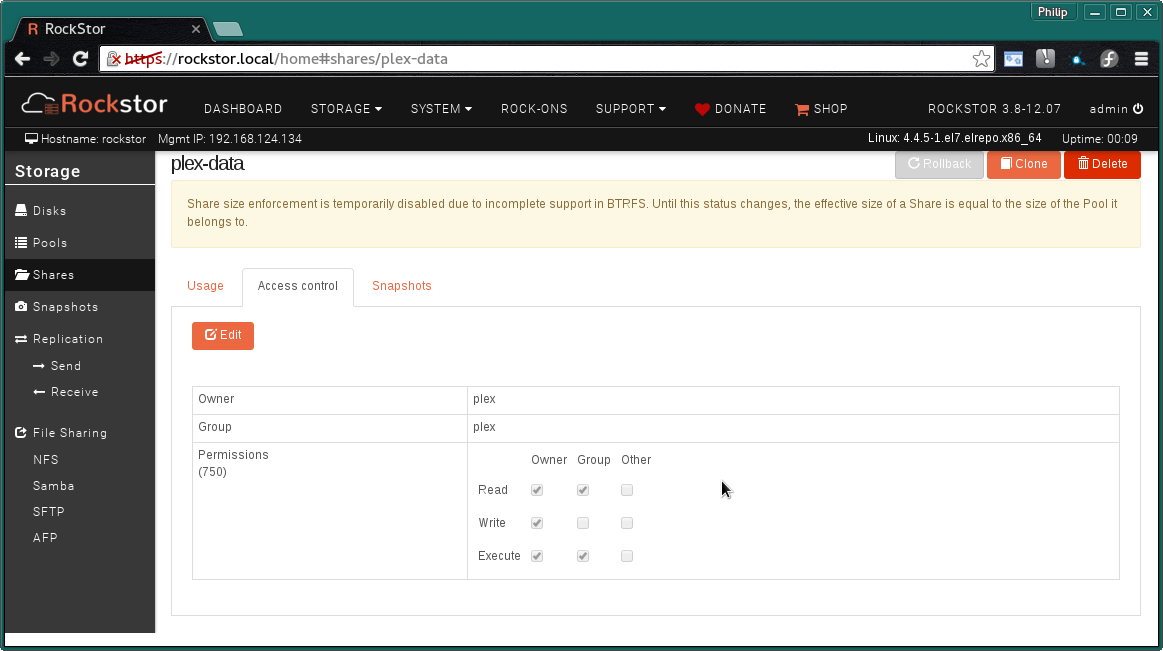
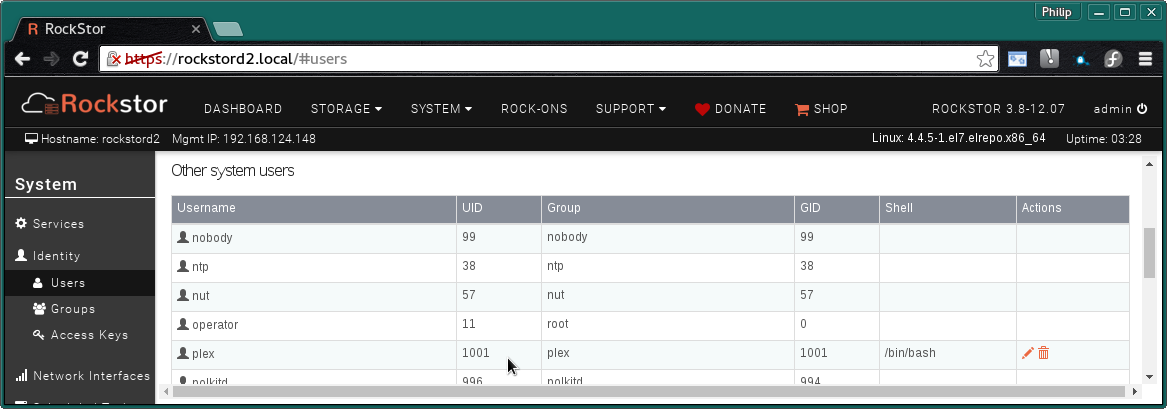
It is also recommended that this Rock-on be run by a dedicated user and that the above shares be owned by that user. The following Plex Shares section and the later Plex User, Group, and Version section detail the relevant aspects. If you do not already have a non-admin non-root user under which you would like to run Plex then please first create a plex user, see our Users section for instructions.
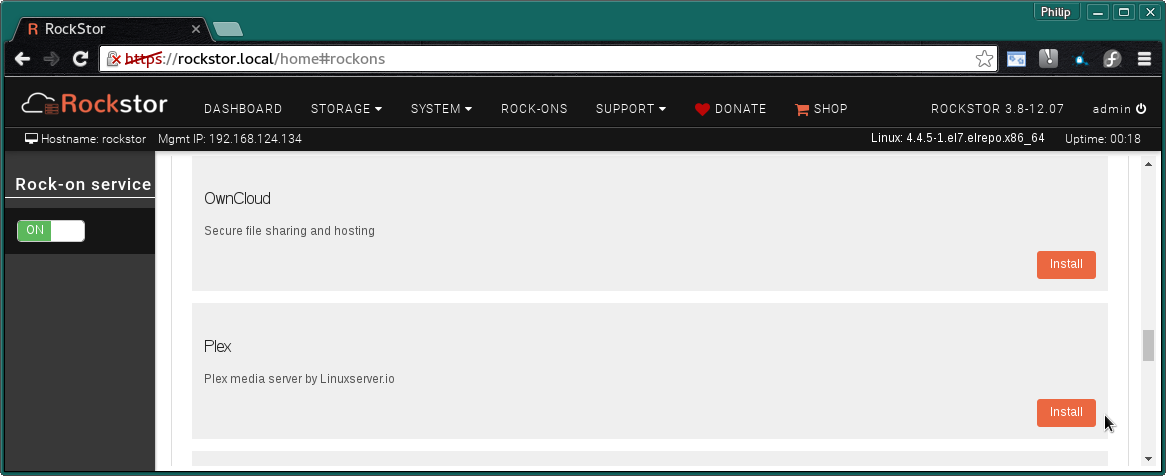
Click the Install button next to the Plex listing on the Rock-ons page.
Plex Port
This is the Default Port and it is unlikely that you will have to alter it.
WebUI port - This is the port you will use to access the Plex UI.
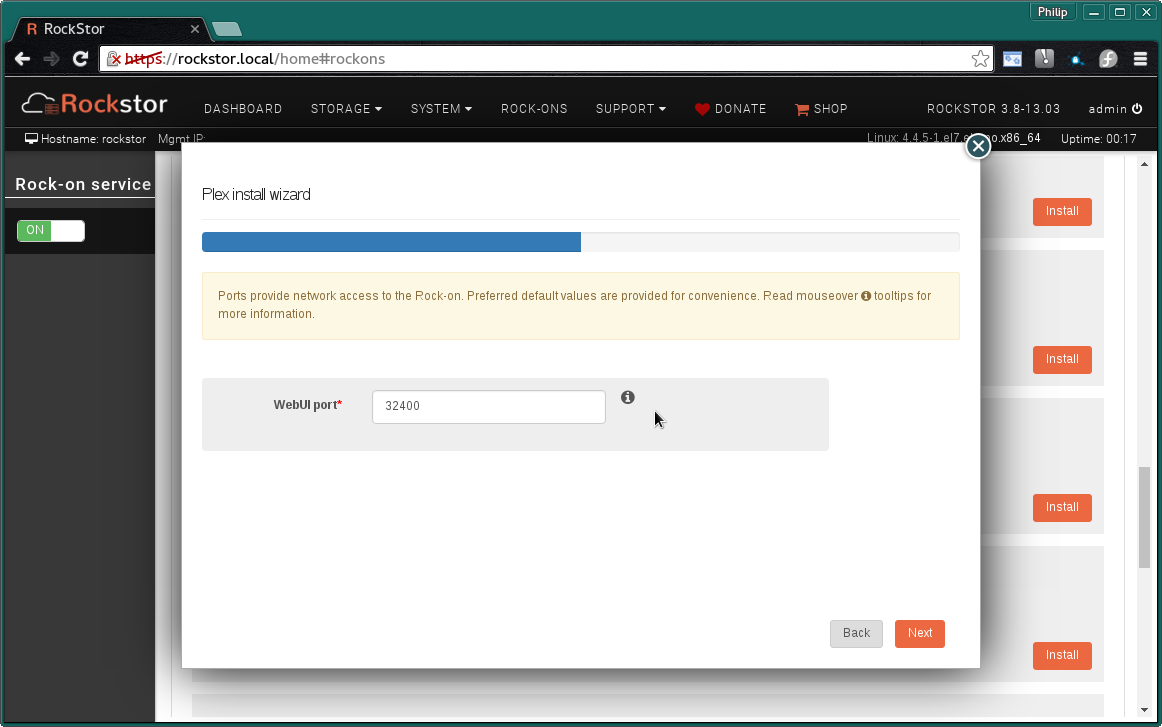
In the above we see the default port number is automatically entered.
Plex User, Group, and Version
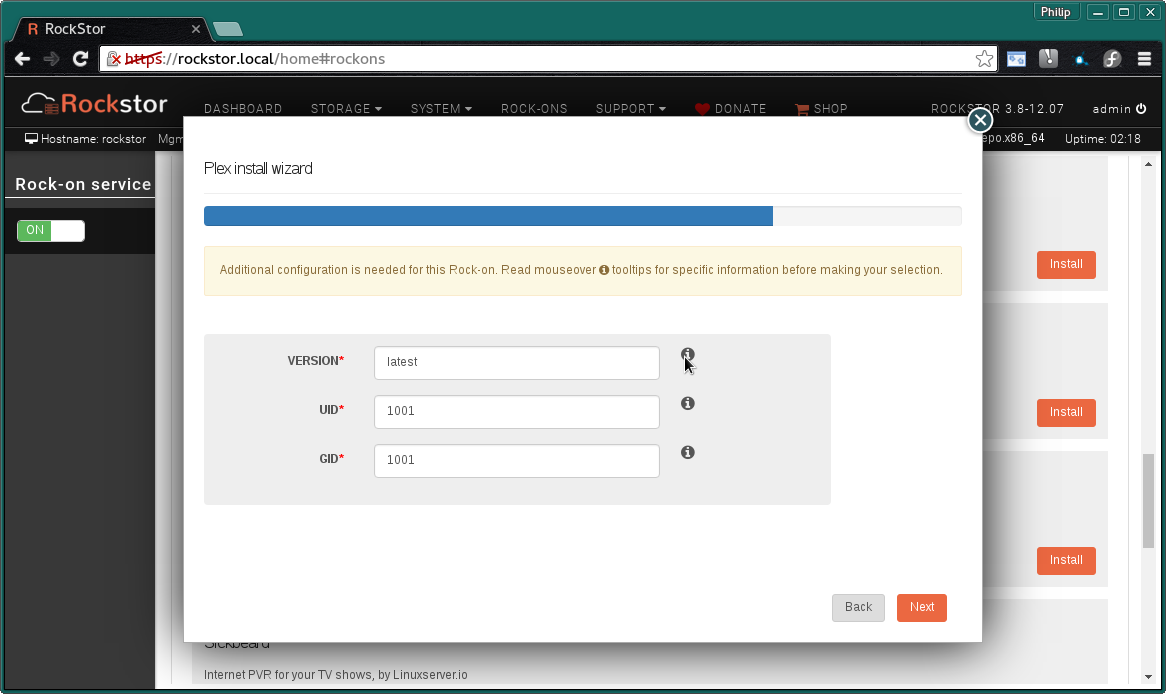
In this section we select the UID (User ID) and the GID (Group ID) under which the Plex server will run. Note that these must be the same as the user who owns the shares configured in the Plex Shares section above. We also get a chance to stipulate the version of Plex we want to use.
VERSION ie latest for latest version or a specific version if desired.
UID User ID (number) to run Plex as.
GID Group ID (number) to run Plex as.
Note the order of these options may change.
The next screen is to confirm the details entered so far.
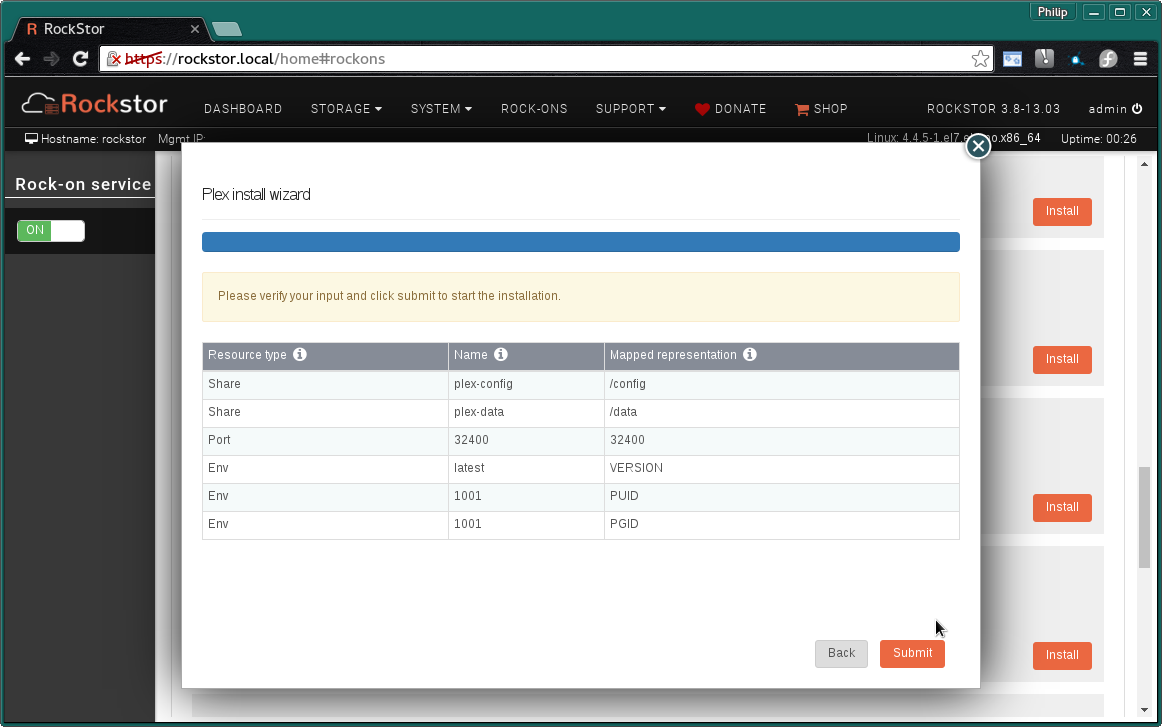
Now check that the entered details are correct before clicking Submit.
Closing the resulting simple Installation is in progress dialog and we have:-
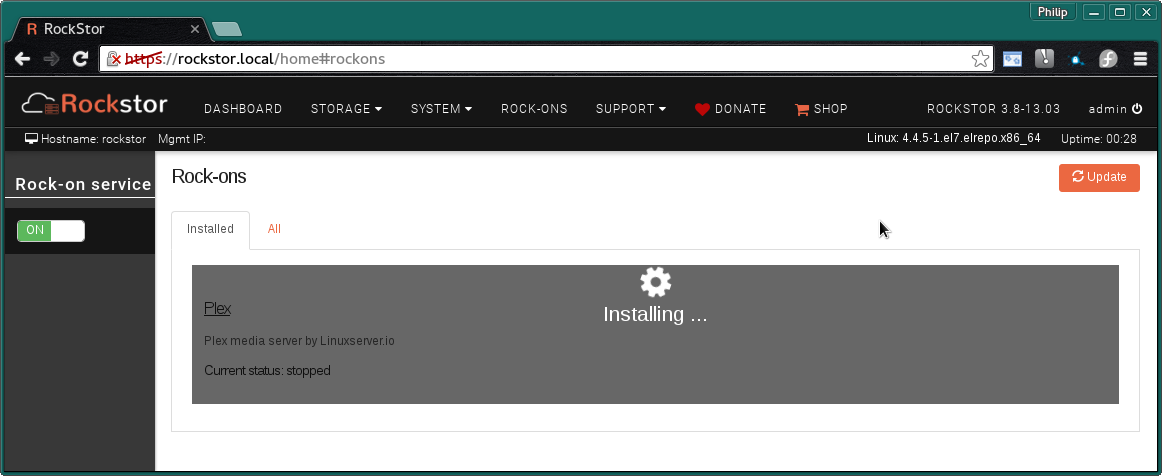
and a few minutes later depending on internet and machine speed:-
The Plex Media Server Rock-on is ON
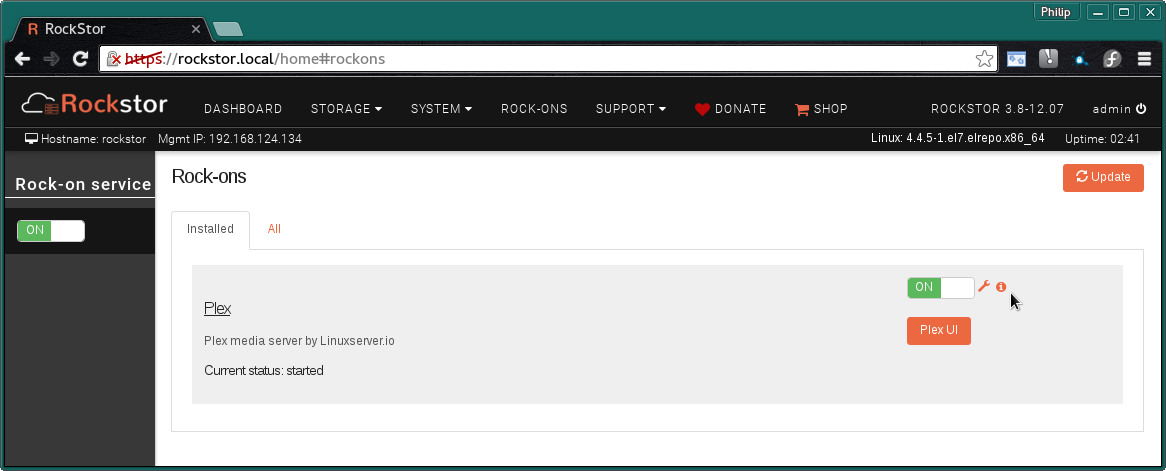
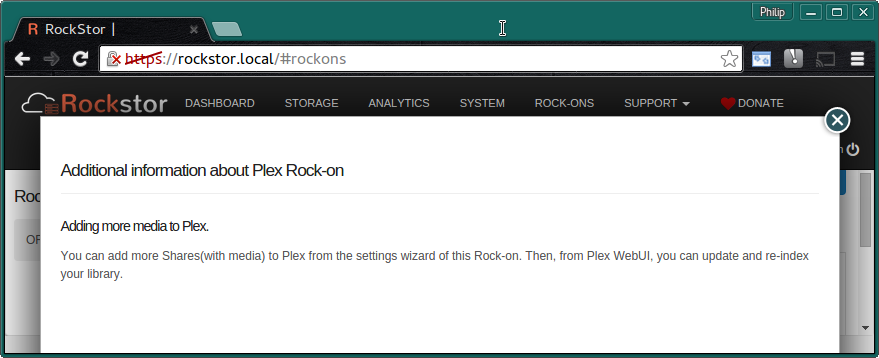
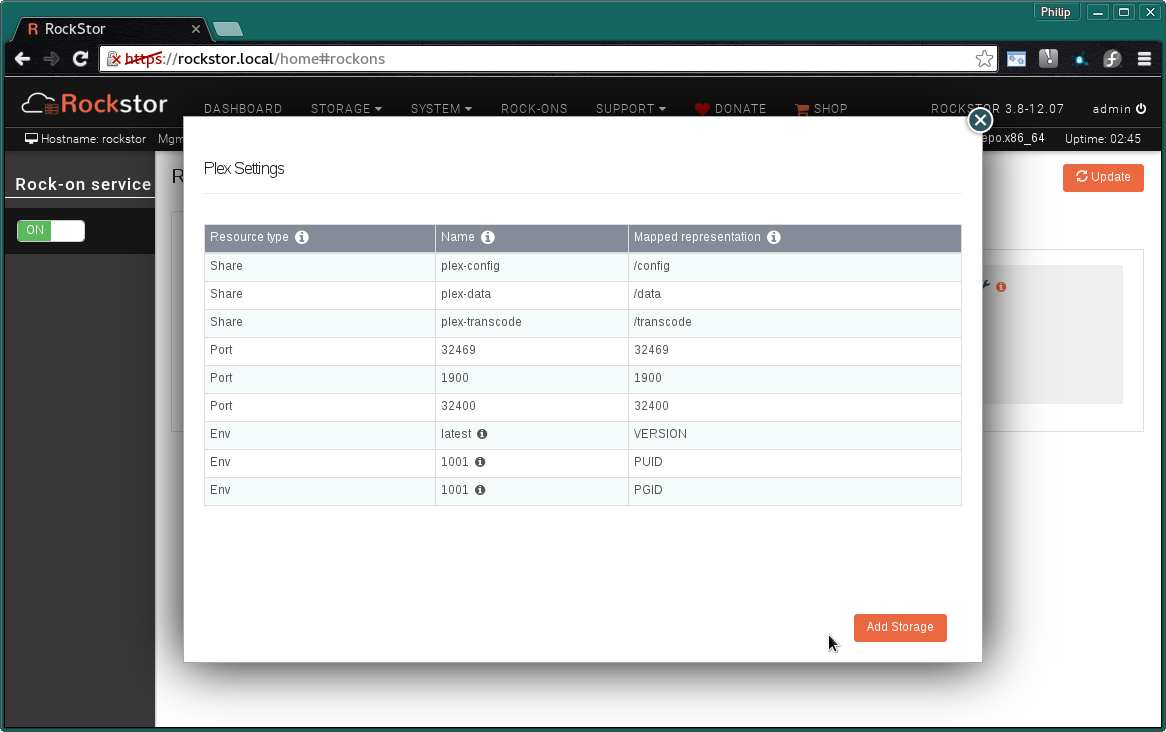
N.B. Notice the Plex UI button to visit the installed Plex Web interface and the spanner icon to view the Rock-on settings and add additional Rockstor Shares.
Plex UI
On first accessing the Plex UI via the Plex UI button on the Rock-ons page you should be greeted with a Plex Terms of Service screen:
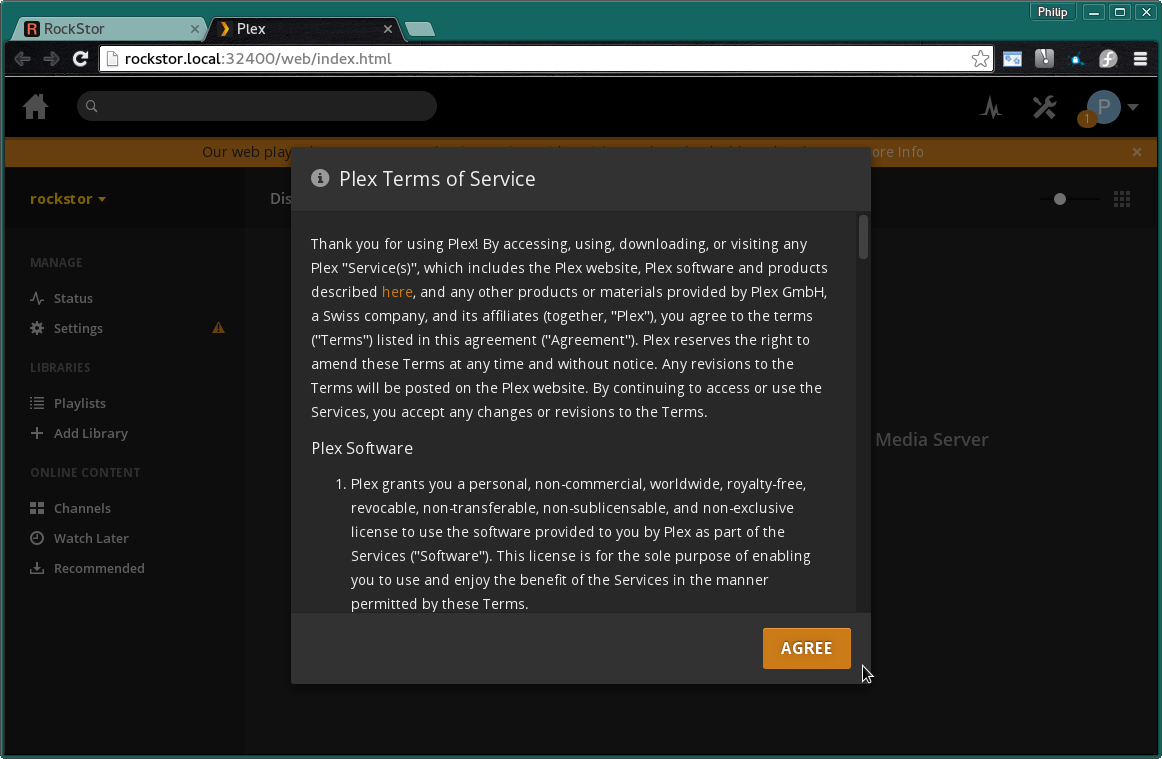
It is required that you AGREE in order to proceed with the server setup.
Once you have agreed to the Plex Terms of Service you should be presented with the following screen which give you a chance to name this server. This defaults to the Rockstor’s host name.
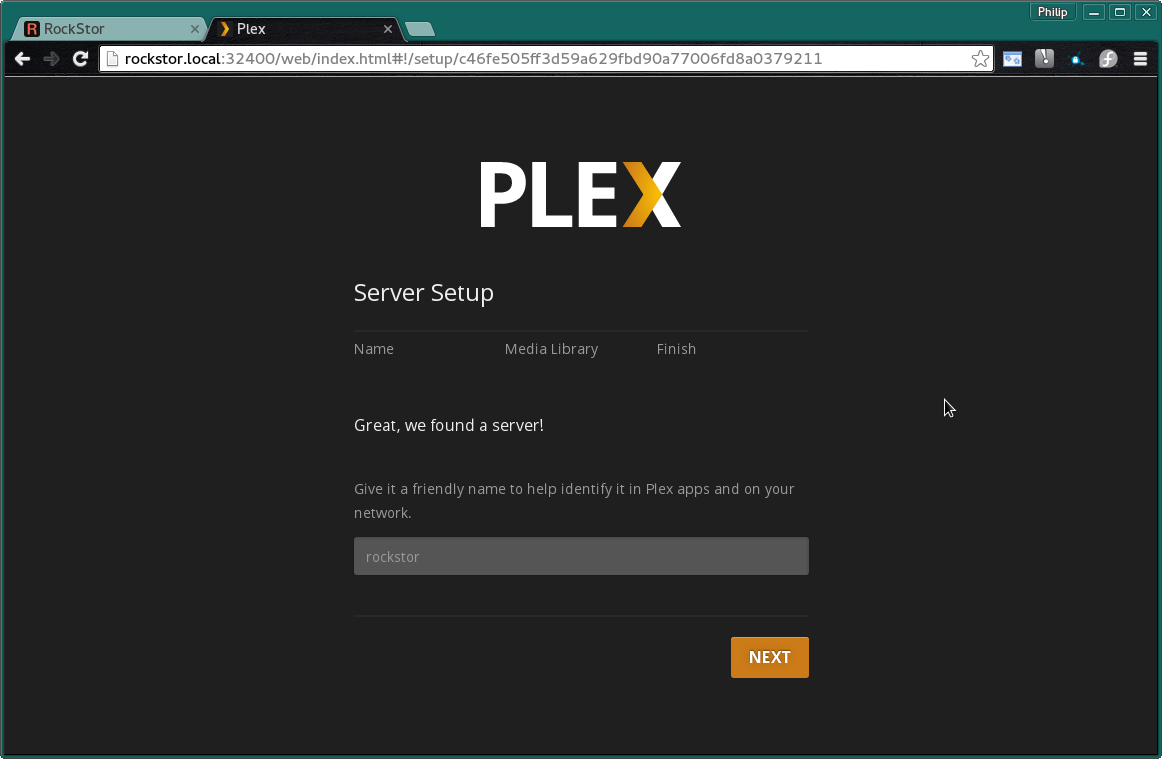
After setting the plex name we are given an option to add a library:
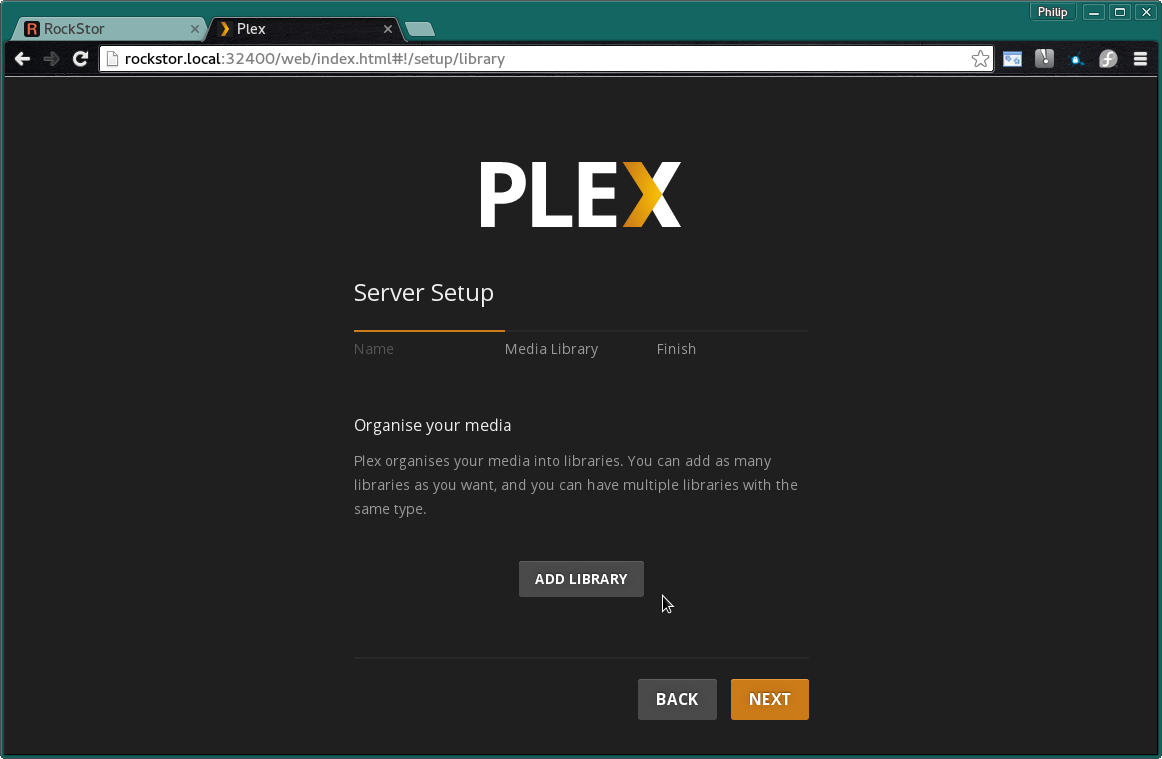
Selecting the type of media in this library is important as it defines how Plex will process and present the files found there in.
Movies These files will be treated as commercial films and will be subject to meta data lookups.
TV Shows Same as movies with regard to lookups but are expected to be multi part.
Music Again these files have meta data lookup executed as well as local analysis (linux only).
Photos Treated as not having publicly available meta data.
Home Videos Again treated as not having meta data available on the internet so no lookups.
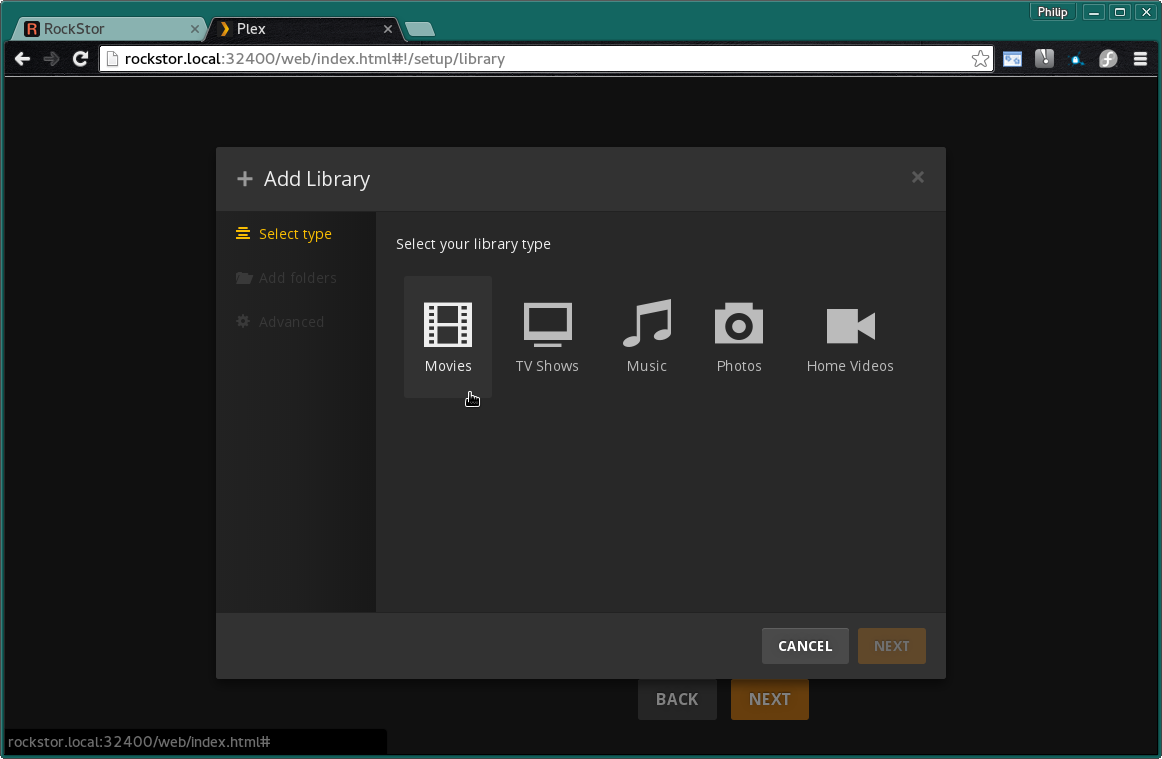
On selecting Movies we are presented with a default name Movies and a language option.
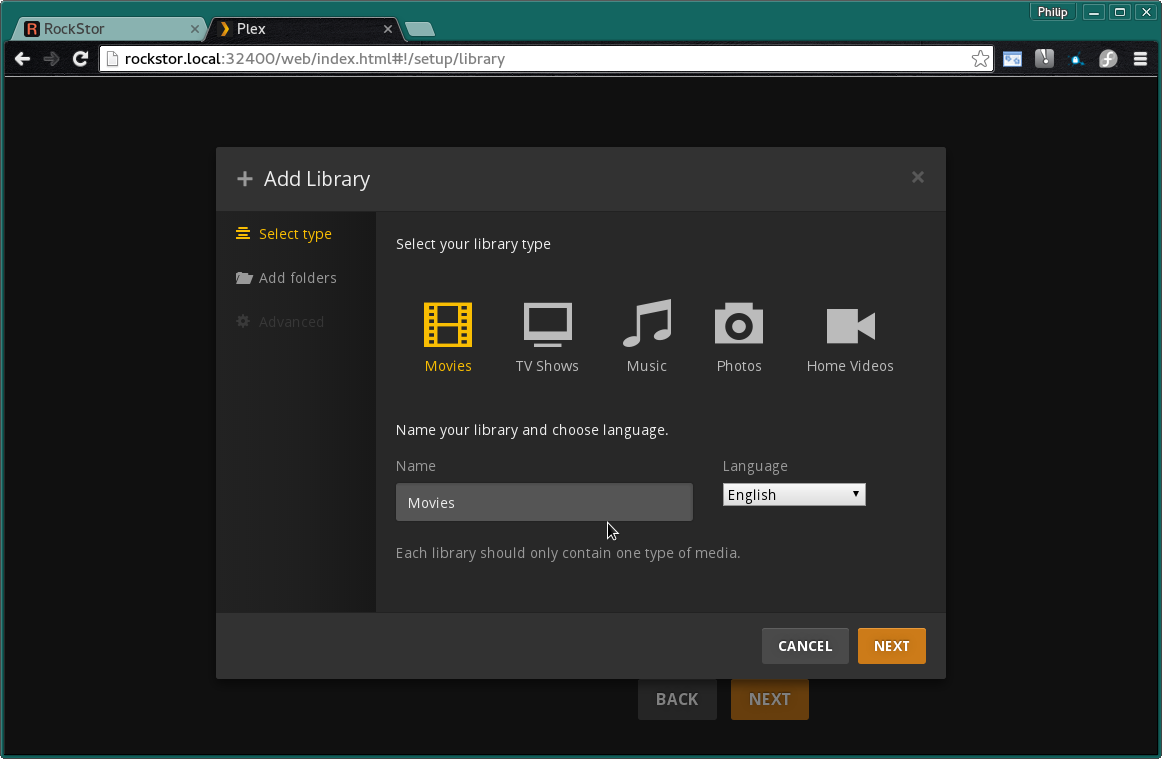
Once the Name has been confirmed we have the option to setup our directory options. Plex Libraries can consist of multiple directories or folders as they reference them:
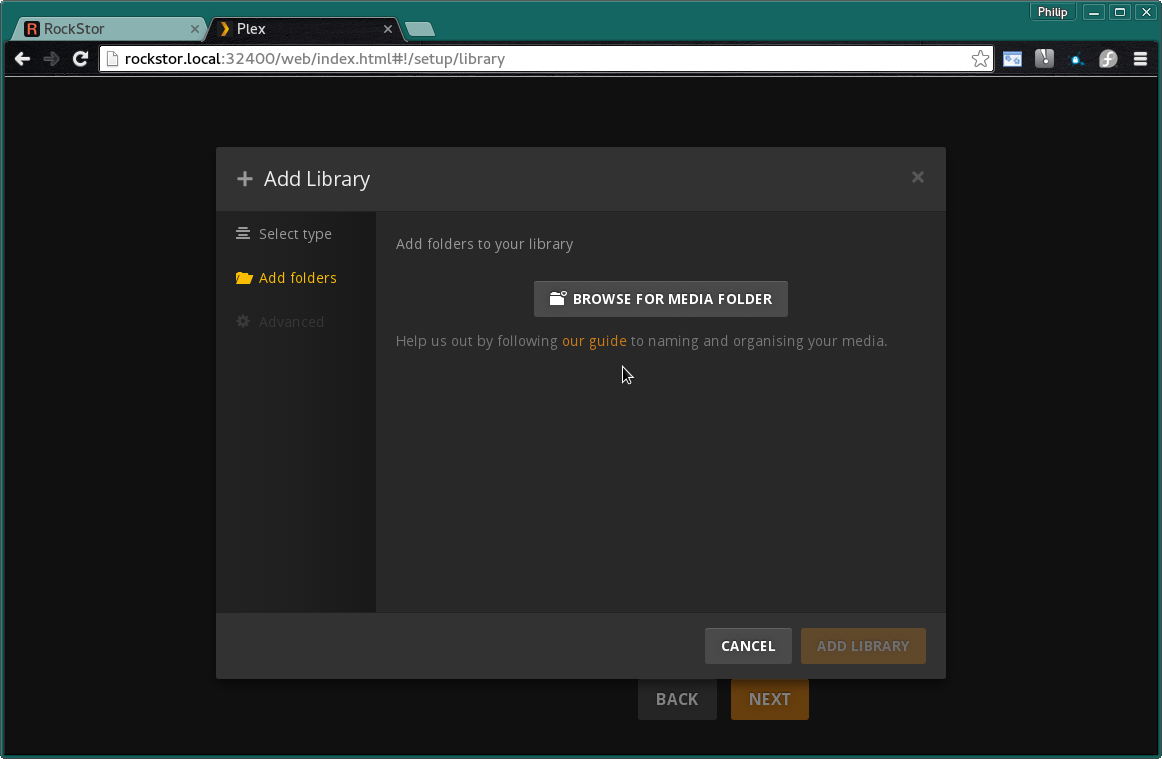
From the previous summary screen or via the Plex Settings panel opened via the spanner icon we have that our plex-data share was mapped to the data directory. Which we now select as there is as yet no other sub directories created or other shares mapped within our Plex Rock-on.
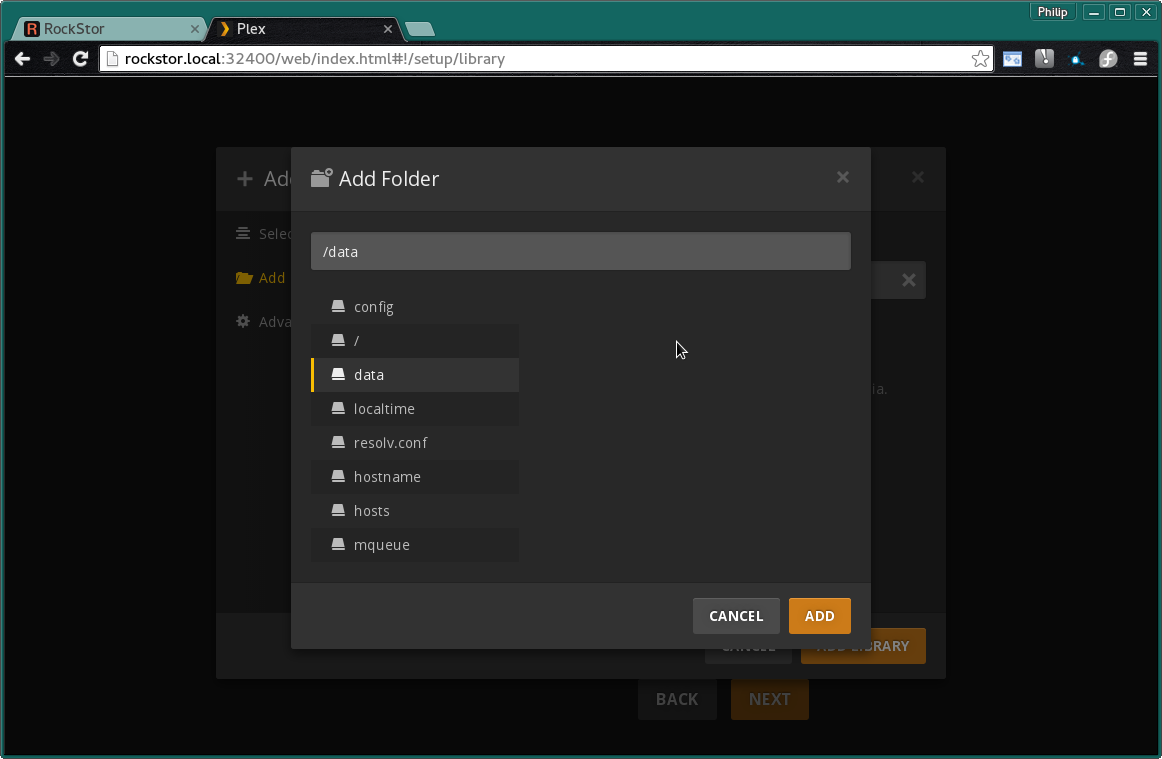
In this case we have chosen to add Movies to the end of our selection
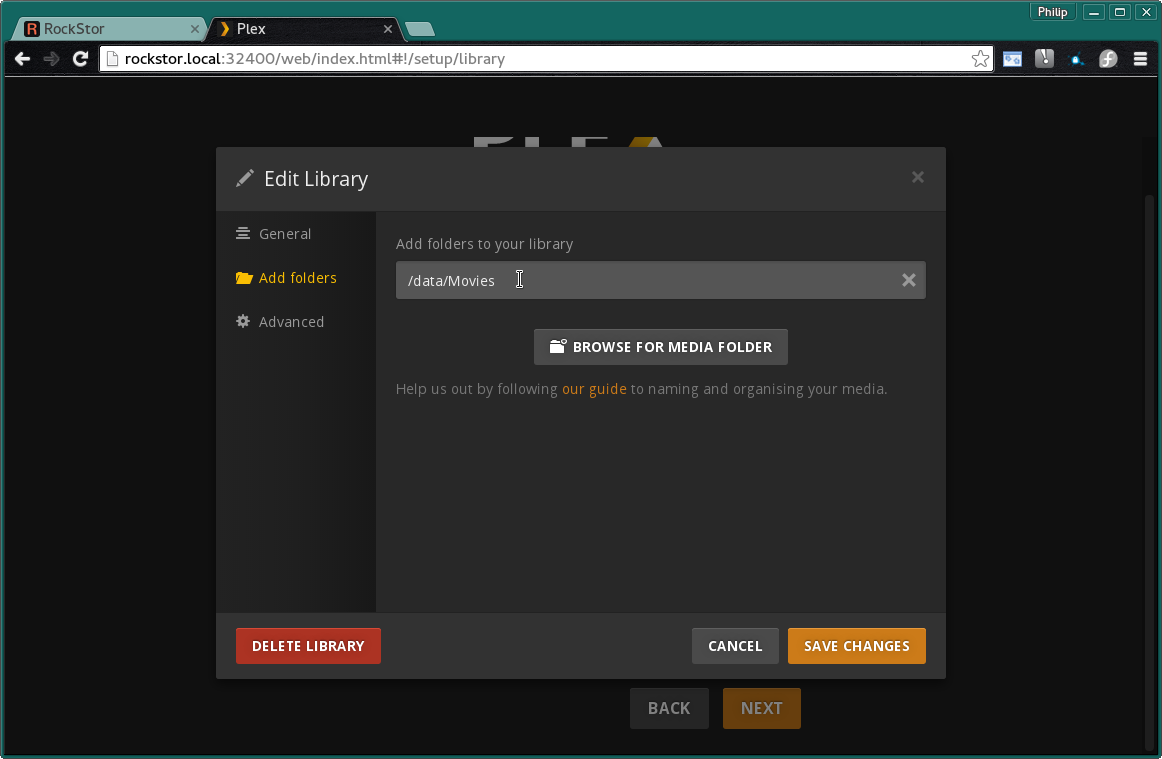
More plex libraries of various types and their associated directories can be setup and when done we are presented with the following options:
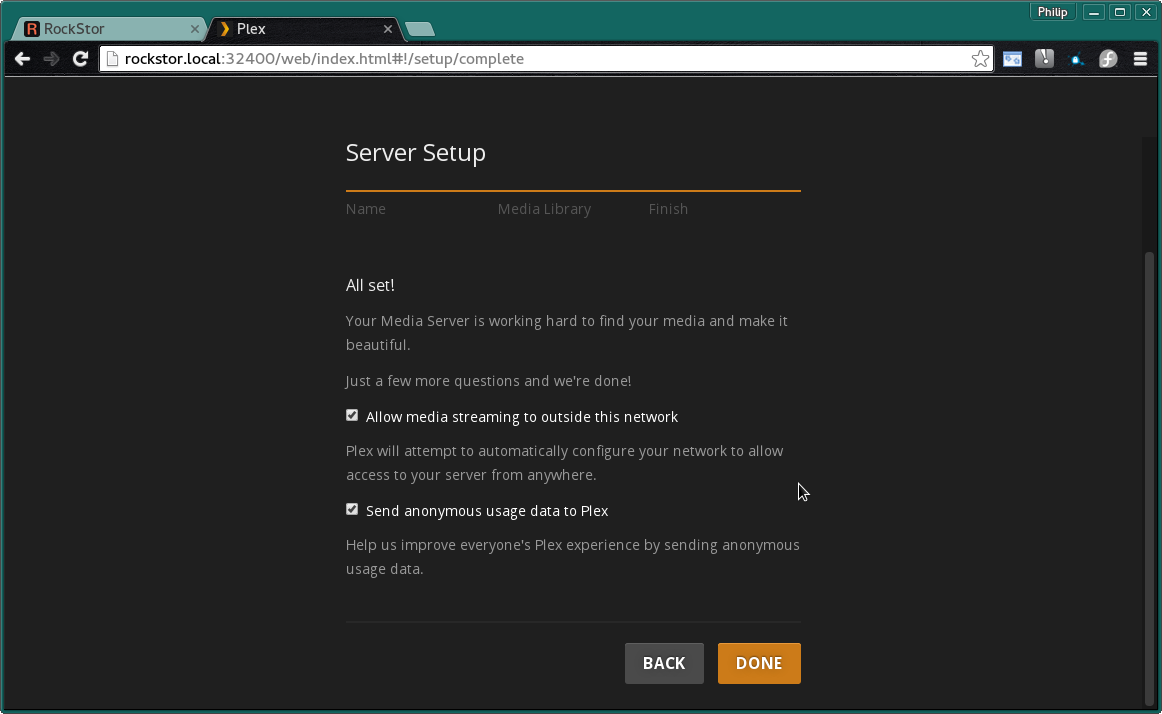
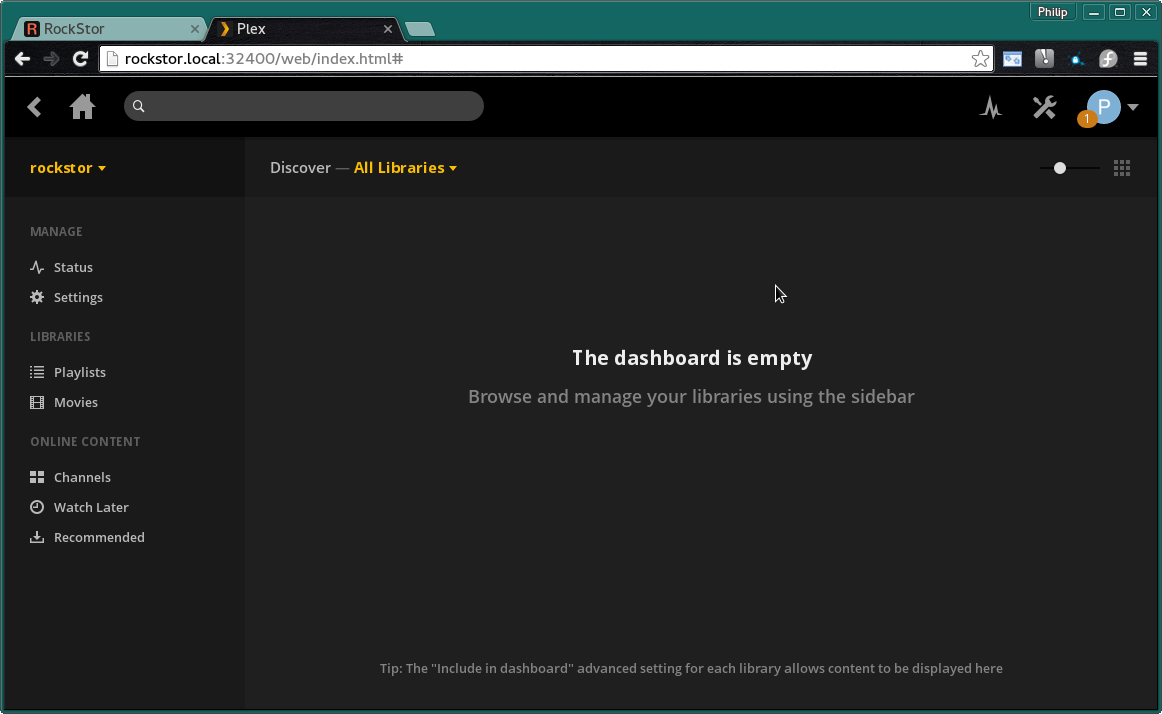
As in this example our Library directories are empty, so is our Plex Dashboard.
If you wish to register this server with an existing Plex account, please see the settings - server section within the Plex WebUI. This will enables the various remote and sync features co-ordinated by the Plex backend service. The facilities available will vary according to your Plex web account status. If you do not already have a Plex account you can create one from within the PlexUI.
Please see Sign in to Your Plex Account for details.
Sign In (with an existing Plex account) or Sign Up to remotely administer, sync, or share your various libraries, all co-ordinated via this Plex Web ID.
Remember that our Movies library is expecting a directory called Movies. Make sure to create this Directory when uploading your Movies. Simply Export the plex-data share by your chosen means in order to be able to upload directly into your Plex Media Server over your local lan from any machine. The Shares section contains links to methods by which this can be accomplished. The most common and compatible of these being via the Samba/CIFS protocol.
You can now configure and populate your Plex Media Server Rock-on; Plex Documentation
